
Bathtub to Shower Conversion in Arlington, Massachusetts
Two other contractors’ sites might have covered the basics and left the rest vague. This page covers what a bathtub to shower conversion actually involves in an Arlington bathroom, what changes the price, what we don’t do, and what’s in the quote before you sign anything.
What a Bathtub to Shower Conversion Job Involves
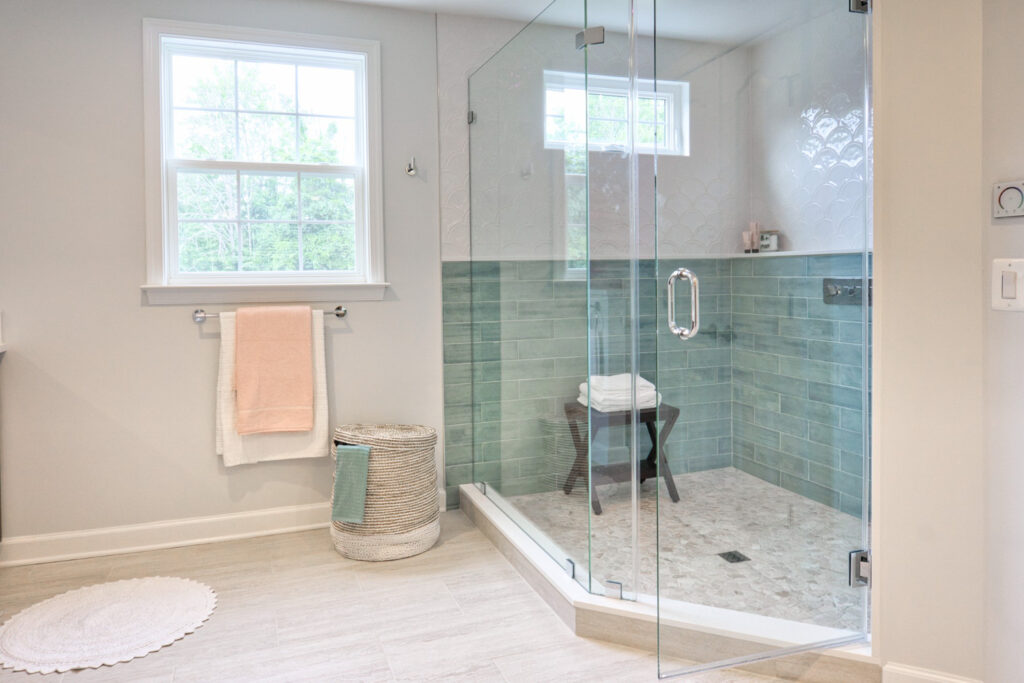
A bathtub to shower conversion starts with removing the tub, the surround, and any tile or plaster behind it, usually down to the framing. Once that’s open, we check the drain, the supply lines, and the subfloor, because on a lot of Arlington bathrooms that’s the first time in decades anyone has actually looked at them. From there the job is framing a new pan or curb, adjusting plumbing to meet it, waterproofing the walls and floor, then tiling or installing a surround, setting the new valve and fixtures, and closing everything back up.
You’ll see a carpenter, a tile installer, and a licensed plumber in the house over the course of the job, sometimes on the same day. What you won’t see is a crew tearing into rooms outside the bathroom, or the job stretching into a second week for a straightforward swap. If it stays inside the original footprint, almost everything that happens is contained to that one room and the section of wall or floor directly behind it.
The Arlington Housing Stock and What It Means For Your Job
Arlington’s housing is old by Massachusetts standards. The median home here was built around 1931, and close to half the town’s homes went up before 1939. A lot of that stock is balloon-framed, wood lath and plaster walls, single-family homes mixed in with two-families and small multi-unit buildings, especially in East Arlington and around the Heights. None of that is a problem on its own. It matters because it changes what’s behind the tile before we ever open the wall.
The original bathrooms in these houses were small, often five feet by seven feet, sized for a single cast iron tub, a sink, and a toilet, nothing more. The tub itself is usually cast iron, which runs somewhere around three hundred to four hundred pounds and has to come out in sections rather than in one piece. It’s typically sitting on a cast iron or galvanized steel drain line, both standard for the era and both well past the point where still working means still in good shape.
Once a wall or floor opens in a house this age, a few things come up often enough that we plan for them rather than treat them as surprises. Homes built before 1978 may have lead paint under later coats, which changes how we handle demo around painted trim and plaster. We follow lead-safe work practices on any surface we disturb in a home from that era, in line with the EPA’s Renovation, Repair and Painting Program rule. Pre-1980 tile jobs sometimes used adhesive or mastic that contains asbestos, so we test before we start cutting rather than after. And galvanized supply lines that have been narrowing with mineral buildup for eighty-plus years are a common reason water pressure at the new showerhead is worse than expected, until we swap the branch line while the wall is already open.
Floor framing is the other thing that’s different here than in a newer build. Older joists were sometimes spaced or sized to a standard that doesn’t match what a tiled shower pan and a mud bed want to sit on, and a subfloor that’s been settling for ninety years is rarely dead level. We check joist spacing and floor level as part of the estimate, not as a change order after we’ve started, because that’s the difference between a quote that holds and one that doesn’t.
Options and What We Recommend
There are three real paths for this job, and the right one depends on the bathroom you have, not the one in a magazine.
A like-for-like swap keeps the existing footprint and drops in a fiberglass or acrylic surround over a new pan. It’s the fastest option, usually three working days, and the least expensive. The trade-off is fewer choices in look and layout, and a seam pattern that’s a little more visible than tile.
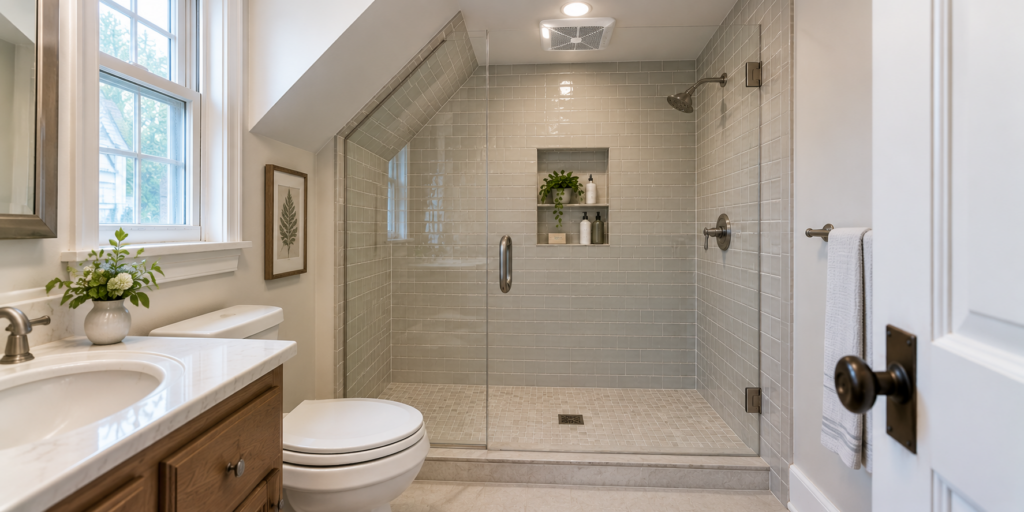
A tiled shower in the same footprint gets you a custom look, a bench or niche if there’s room, and a waterproofing membrane built for the long term rather than a caulked seam. It takes a day or two longer and costs more in labor and materials, because tile work is slower than setting a one-piece surround.
A larger shower that requires moving a wall, relocating the drain further than a few inches, or lowering part of the floor for a curbless entry is the most involved option, and the most expensive, because it usually touches framing and sometimes touches what’s on the other side of that wall.
For most Arlington bathrooms, given the five-by-seven footprint that’s common in this town’s older housing stock, a tiled shower in the existing footprint is what we recommend. It’s a real upgrade in look and function without the cost and disruption of moving walls in a room that usually doesn’t have anywhere to move them into anyway.
Materials We Use And Why
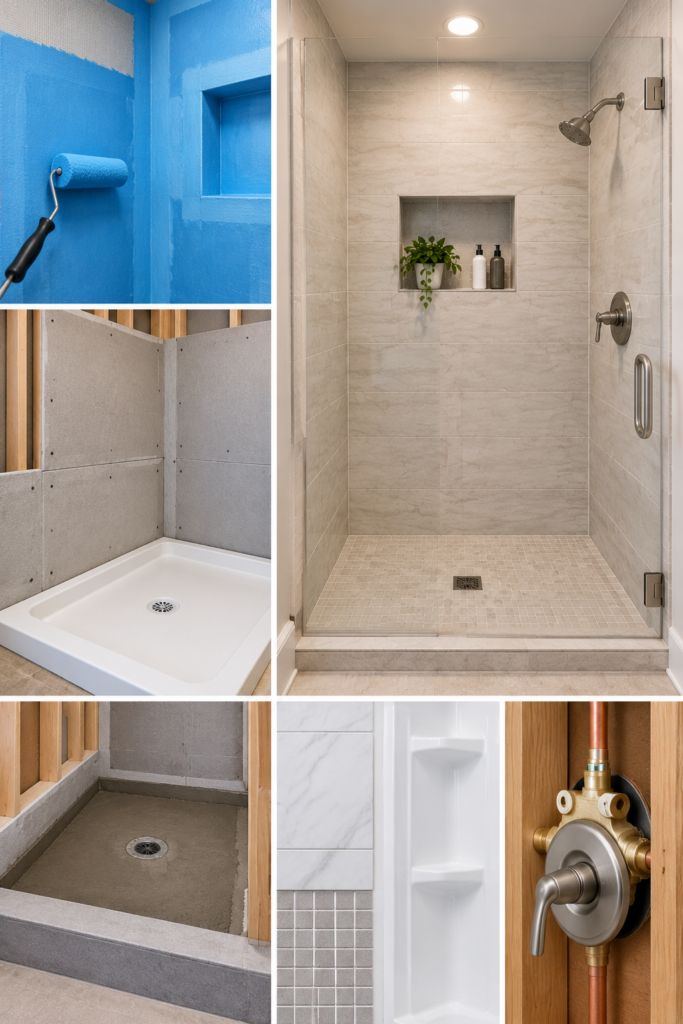
Waterproofing membrane, either sheet or liquid-applied, goes behind the tile on every job. It’s what actually keeps water out of the wall assembly behind eighty-year-old plaster, not the tile or grout, which will always have some porosity over time.
Cement board is the backer behind tile and membrane. It holds up in a wet environment the way old-style drywall or plaster never will, and it gives the membrane a stable surface to bond to.
For the shower base, we use either a prefabricated pan or a mud-set pan built on site. A prefab pan is faster and more consistent. A mud-set pan is worth it when the bathroom is an odd shape, which is common enough in this town’s older houses that it comes up more than you’d expect.
For the surround itself, it’s tile or a one-piece acrylic or fiberglass system, and which one makes sense comes down to the options above.
Every new valve we install is a pressure-balance or thermostatic type, which is what current Massachusetts plumbing code requires for scald protection. A lot of the tubs we’re replacing have a single-handle valve with no such protection, because that wasn’t required when the house was built.
Permits and inspections in Arlington
Any work on a drain, supply line, or vent for this job requires a plumbing permit, pulled by a licensed plumber and issued through Arlington's municipal building department. If the job involves opening or altering framing, a building permit is typically required alongside it. Both permits involve an inspection before the wall is closed, to confirm the work meets code, and a final inspection once everything is finished. We handle pulling the permits and scheduling both inspections as part of the job.
Timeline from first call to final walkthrough
Most jobs start with a call or a form, followed by an in-home visit to measure the space, look at the plumbing, and talk through the options above. That visit is where we give you a written quote, not a verbal number. Once you sign off, we schedule a start date, usually a few weeks out depending on the season.
On site, day one is a demo and assessment behind the wall. Day two is plumbing rough-in and framing for the new pan or curb. The next day or two is waterproofing and tile or surround installation, with permit inspections happening at the points the code requires them. The last day is fixtures, trim, and a final walkthrough where we go over the work with you before we call it done. See the process page for the full step-by-step.
What We Do Not Do
We don’t do a bathtub to shower conversion as a rush, same-week job when the bathroom hasn’t been assessed first. If that’s what’s being asked for, we’ll say so at the estimate rather than promise a timeline we can’t hold once the wall is open.
We don’t recommend converting the only tub in a house if someone in the household actually needs a tub to bathe. We’ll say that plainly at the estimate instead of selling a job the house doesn’t need.
And if we find active water damage or mold once the tub is out that goes beyond what a normal demo exposes, we stop and bring in a remediation contractor before any tile or waterproofing goes in. Building over an active moisture problem isn’t a shortcut we take.
How We Quote
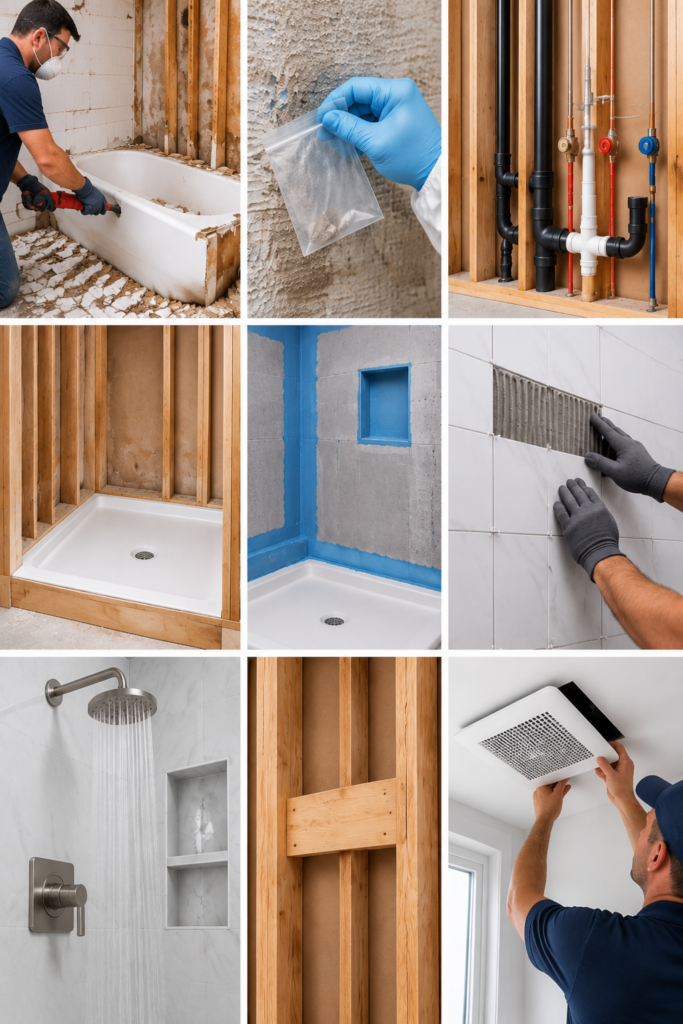
The written quote covers the scope of work room by room, the material categories included at each price point, the estimated timeline, and a payment schedule tied to completed stages of the job, not just a deposit and a final bill. It also spells out who’s responsible for the permit and what happens if something unexpected turns up once the wall is open, so a real finding, like a rotted subfloor or a drain line that needs replacing, gets a written change order with a price attached before we do the work, not a surprise on the final invoice.
Frequently Asked, Answered Short
Can you convert the tub without opening the wall in the room on the other side?
In most cases, yes. We only need to open the other side if the plumbing or framing behind that wall needs work we can’t reach from the bathroom side.
Will the new shower match the tile or trim already in the rest of the bathroom?
We can match existing tile or trim style where the product is still available, or use it as a reference point for something close. We’ll tell you at the estimate if an exact match isn’t possible.
I have two bathrooms, can I convert just one and keep a tub in the other?
Yes, this is common, and it’s usually the setup we recommend if anyone in the house still wants a tub option.
What happens if you find rot or old damage once the tub is out?
We stop, show you what we found, and give you a written change order with a price before doing anything about it. Nothing gets fixed or billed without your sign-off first.
Only if it has a code compliant egress window or door, which is a separate scope from a standard basement finish and something we plan for upfront if that’s the goal.
Book your estimate
If you want a written quote instead of a guess over the phone, request a free in-home estimate and we’ll walk your bathroom with you. Call 857-847-4440, or use the contact page to set a time. For rough numbers before that call, see the cost page.